Tips How-To Tutorial to Blowdry Hair Like A Pro!
Hello! It’s Anthony from The ART and SCIENCE of [beauty] here to share some of my best tricks and tips with all you Fashionable Gals. Follow my advice and y’all will be lookin’ FIERCE! I’ll be giving you the scoop on how to really use your blowdryer to the fullest, what all those different brushes are for, and the right products to use to give you the results you want! Whether it’s super duper straight and polished OR big and bouncy with maximum volume! Either way, I’m here to help you make it happen. 
So, first things first, let’s talk about…. BLOWDRYERS! You know, those things that blow out hot air, and that has all those buttons and accessories you’re not really sure what to do with? Well, let’s talk about them… Generally speaking, most blowdryers have 2 speeds: High and Medium, and 3 heat settings: Hot, Warm, and Cool. A lot of blowdryers say they have 3 speeds, and some do, but a lot of them include “Off” as a setting… lame I know. But anyways, it is actually important to have the two speeds, and to know when to use them.
- High/Hot are the settings you want to use to get rid of the excess moisture in your hair. However, I do recommend towel blotting your hair as much as possible before using your blowdryer, NOT rubbing your hair back and forth with your towel. That creates DAMAGE, especially for curly haired gals–like The Fashionable Housewife! ?
- Once your hair is about 50%-60% dry, switch to the Medium/Hot or Medium/Warm setting, it’s better for your hair because the air flow isn’t so strong and hot. This is especially important if you’re using round brushes (which I’ll be covering shortly).
- And finally, the mysterious Cool setting, or Cool Shot button. I am SO amazed at the number of women I’ve met that have absolutely noooo idea what the Cool setting is for, when it’s probably the most important setting on your blowdryer! The Cool setting is used to set your style! Whether you’re using a round brush, or blowing it straight you should always use your cool shot button on every section of hair you work on. HOT air creates a style, COLD air sets a style. This is also important to remember when you’re curling your hair with an iron. Tip: After you make a curl, instead of blasting it with hairspray and hoping it’ll stay, pin it up and move on. When you’re done curling your hair, lightly mist it with hairspray and take down your curls. They’ll last a lot longer this way, trust me.
With me so far? Good. Now let’s move on to the accessories that go with your blowdryer: A concentrator, a diffuser, and a pik are the most common ones, so we’ll just talk about those.
- The first image is a concentrator. It’s the most commonly used blowdryer attachment, and I never use mine without it. A concentrator directs the airflow into one direction instead of just blowing out in all directions. It’s kind of like this: it’s easier to fill a water bottle using a funnel instead of just water pouring from the faucet, right? Haha, it’s the best metaphor I could come up with. Basically, the concentrator makes the air go down – that way it won’t blow against your hair and create split ends and damage. It’s also best to use it when you’re smoothing your hair with a round brush.
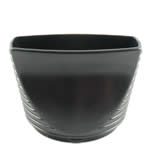
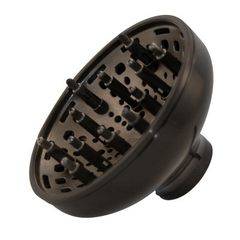
- The second image is a diffuser. I’m sure almost every girl with curly hair knows what a diffuser is, but I’ll tell you anyways. It’s named a diffuser, because it “diffuses” the heat, instead of having it blow straight out. The diffuser works by evenly spreading the air, drying your hair while keeping your curls intact.
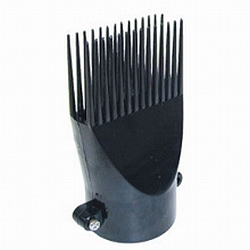
- The third image is a pik. If a concentrator and a brush had a baby, it would look like that! =P But joking aside, the pik is used to dry and straighten your hair simultaneously. There are downsides to using a pik: It does tend to stretch your hair a bit more than like – a brush would, the teeth tend to break easily, and while your hair may get straight faster – it can make your hair kinda poofy, so you may have to follow up with a flat iron.
OK! Now that we have that out of the way, the next thing we should talk about are brushes! There are a lot of brushes out there, and it’s soooo important to know the differences and how they all work. First of all, different brushes have different types of bristles. Usually a brush will have either plastic, ceramic, or boar bristles.
- Plastic brushes and combs are best used on wet hair, to de-tangle hair or style it into a certain shape.
- Brushes that have ceramic bristles are good for blowdrying, because they can distribute heat and smooth the hair.
- Boar bristles really are made from boar hair, did you know? They’re the best for smoothing hair and adding tons of shine and volume.
Now on to the different types of brushes:
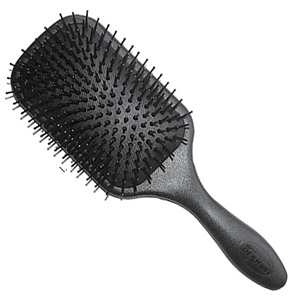
- Paddle Brush: The large, flat base of a paddle brush is perfect for blowdrying longer hair smooth. The best ones have ball-tipped nylon pins in a staggered pattern, so it doesn’t snag the hair – or boar bristles, which make straightening and smoothing hair a LOT easier!
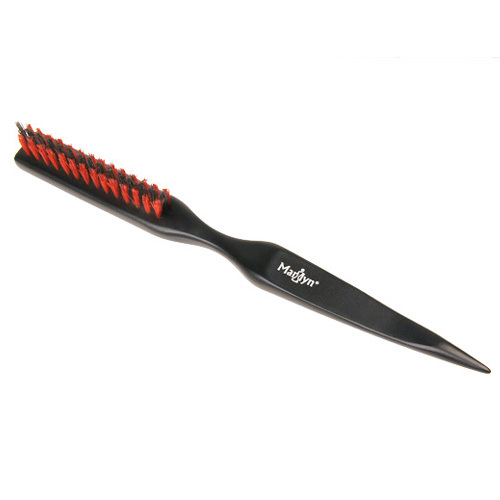
- Teasing Brush: Pretty self-explanatory. Teasing (also called ruffing) with a brush is – in my opinion – better than using a comb. You can get a lot of height and body, and the brush makes combing out much easier.
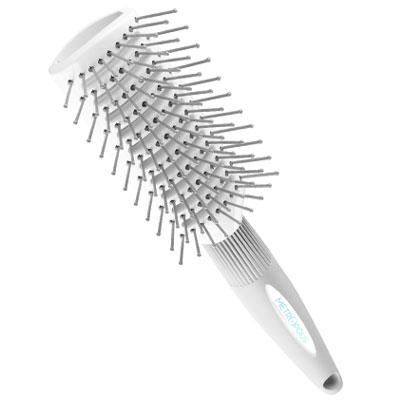
- Vent Brush: Probably the most popular, and widely used brush. The vents on a vent brush speed up the drying time, and add lift at the scalp.
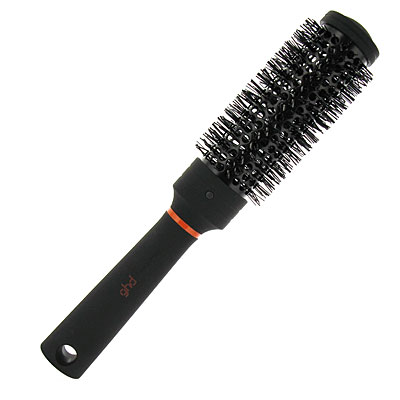
- Metal Round Brush: This round brush has a metal base and ceramic bristles, which is better if you want more detailed curls.
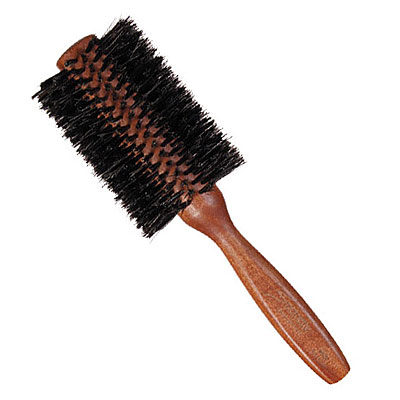
- Wooden Round Brush: This one is made of wood and has natural boar bristles, much better for smoothing out hair and making less of a curl and more of a wave.
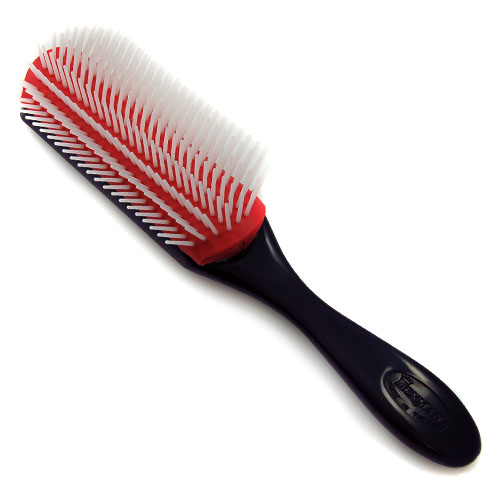
- Styling Brush: Also a popular choice, the styling brush is usually heat resistant and anti-static. They’re best used for blowdrying precision haircuts that don’t need much volume.
Last, but not least – styling products & blowdrying tips!
Since everyone’s hair, and their needs are SO different, I won’t be too specific about products. But I can share some of my own personal tips and tricks:
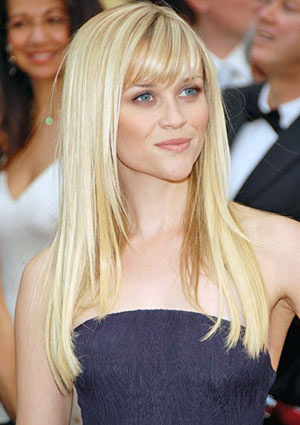
- You got some big, crazy, unruly, frizz-a-licious hair?! And you want it to be smooth and sleek?! Your best bet is a smoothing product – like a balm, or serum. They really help to smooth your hair and keep the frizz down, without making it feel heavy. My personal faves are Bed Head Control Freak Serum, It’s a 10 Miracle Leave-In Product, and Sebastian Potion 9 to name a few. You also want to use a brush with boar bristles, because they really help distribute the product and the heat to really smooth out your hair. And be sure to use your concentrator on your blowdryer! It makes such a difference!
- Smoothing tip: Remember to always point your blowdryer down – it smooths the cuticle and tames frizz.
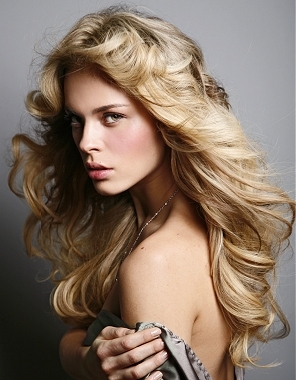
- Or maybe your hair is a little on the flat side and you want big, bouncy, voluminous, Victoria’s Secret model hair? Gel, mousse, and round brushes are your best bet. Gel is the best at getting tons of volume, hold and texture in your hair. Redken Blown Away 09 is one of my favorites – tons of volume without the sticky mess of typical gel. Mousse doesn’t give a lot of hold, but it’s great for adding body and shine while keeping curls intact. Mousse actually works best when you air dry your hair. Try Sebastian Whipped Creme or Garnier Fructis Volume Inject Mousse (I’m not typically a Garnier fan, but this mousse is pretty decent!).
- Volume tip: I call this the hot-roller method. Use a ceramic round brush, and as you go from section to section, right before you’re done with one section roll it up all the way into the brush and use the cool shot button to set that section. Afterwards, a lil tease and a lil hairspray and you’ll get amazing results!
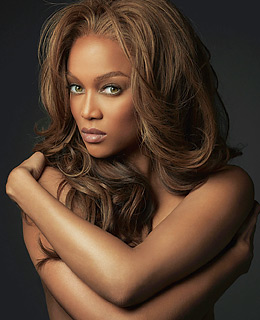
- Perhaps what you really want is texture and wave to your hair. Try using curl-enhancing products, thickening products, styling souffles or sea salt sprays. Use a curl-enhancing product to enhance your natural wave, and air dry or use your diffuser. Follow up with an iron if you want more curl – I suggest using Redken Spray Starch 15 with your iron, your curls will last for days. Thickening products focus more on adding fullness and texture to your hair. Catwalk Your Highness Gel Thickening Creme is great at making your hair feel full and manageable. Styling souffles are whipped styling products that make your hair feel soft and heatlhy while enhancing your natural wave. My favorite souffle that I put in my hair practically every day is S-Factor Spun Satin – it’s such a luxury item but I can’ t live without it! Other companies that make styling souffles are Alterna, Matrix Biolage, Healthy Sexy Hair, and Schwartzkopf OSiS just to name a few. Sea salt sprays give amazing texture and wave to your hair – total beach hair!
- Sea salt spray tip: You definitely want to let your hair air dry when using a sea salt spray. The heat from your blowdryer makes the product dry too quickly and you won’t get the same results. Just spray it in, and while you’re waiting for it to dry just scrunch periodically, or pin random sections up for more detailed waves. My fave is KMS Hairplay Sea Salt Spray – it works great and smells like minty grapes!
Wow! All done! Wasn’t that fascinating? I thought so! :D Anyway, It was so much fun writing this and I hope I helped some of you with all this blowdrying info! Hopefully I’ll be able to write something else for Fashionable Media in 2010!
Until then – happy blowdrying, happy new year, and take care of your hair! XOXO
-Anthony
great tips! reading this post as I watch the Golden Globes made me believe I, too, can make my own glammed-up ‘do.