How To Cut Plexiglass at Home Without Damaging It
Plexiglass or acrylic sheets are used for a wide range of applications ranging from tabletops to picture frames. They are considered as the most cost-effective solution for home décor needs and work as a shatterproof substitute for glass. People prefer them due to their higher durability, lightweight and versatile finish.
You will be happy to hear that there is no need to call a professional to cut these sheets into smaller pieces. Anyone can do this task with ease by following a few simple steps. Plexiglass can be shaped and cut by using basic workshop tools at home. However, before you execute any such operation, it is first important to understand what you need which is why we published this step by step guide.
Basic tools you need to cut plexiglass at home:
If you search the internet to learn methods to cut the perspex sheet to size into smaller shapes, you may find several unique methods to execute this task. They may require different types of arrangements and tools for cutting these sheets accurately. Below we have highlighted a few such tools:
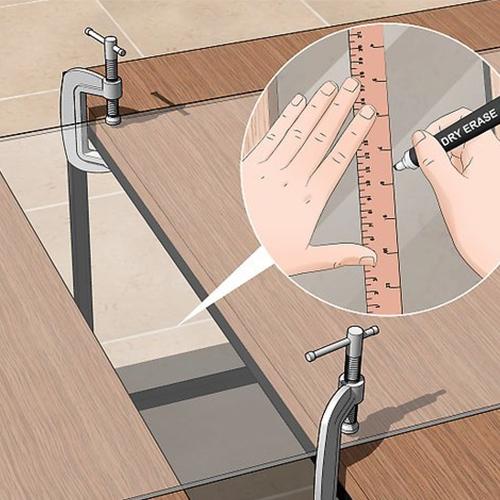
Clamps: First of all, you may need a clamp to place acrylic sheets firmly on the surface. Usually, any vibration or chattering can ruin the cut or may rip the plastic. That is why instead of cutting it freehand, experts recommend using clamps to get straight cuts. You can create a clamp set up at home with ease.
Markers: Before cutting the sheets to get the desired shape, you may need to do some markings first. Note that, few acrylic sheets are manufactured with paper backing; it means you can do markings with a pencil. However, other sheets come with the film on their surface, in order to mark on such sheets, you may need to use fine markers. Sharpies or dry erase may work in this context.
Tape: It is also important to get some tape that may be required for masking off the Plexiglass before cutting. Tapes also help to prevent chipping during the cutting process and at the same time, help prevent scratches on the surface. There is no need to spend on an expensive tape; you can buy a simple masking tape for this task.
Protection: Other than this, experts recommend having eye protection to ensure safe cutting experience. You can easily find protective eye wears in the market; they are available at an affordable price.
How to cut plexiglass into specific shapes?
There are so many methods to cut plexiglass into different shapes; the best ones are explained below with detailed steps. It will help beginners to learn the technique to cut acrylic sheets at home:
Method 1: Scoring and snapping:
If you are using thin sheets of plexiglass, there is no need to get special cutting tools. These sheets can be easily cut into the desired shape using clamps, the market, and measuring tape only. Here are the detailed steps:
Step 1: Place the plexiglass on the work surface:
This method is suitable for plexiglass sheets having thickness levels somewhere around 0.48 cm. It is easier to score such sheets, and then snap them to get the desired size. Simply place the plexiglass sheet on the flat surface and use a measuring tape for marking desired dimensions. The surface must be clean so that it doesn’t cause any damage to the delicate sheet.
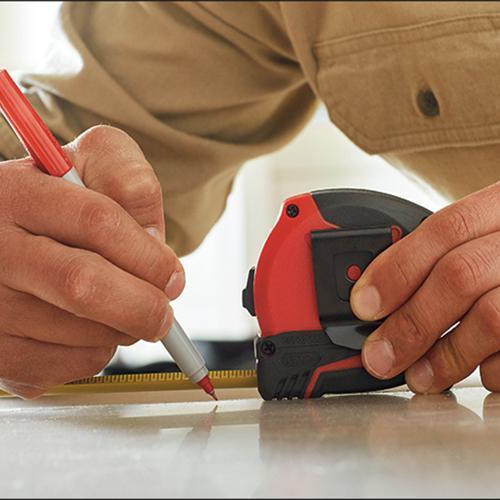
Step 2: Mark the line to cut:
Once you have placed the sheet on an even and stable surface, it is time to draw a straight line using a pencil or marker to mark the area to be cut. It should be a clearly visible line; however, experts advise using a dry erase marker whose remains can be erased after cutting the sheet.
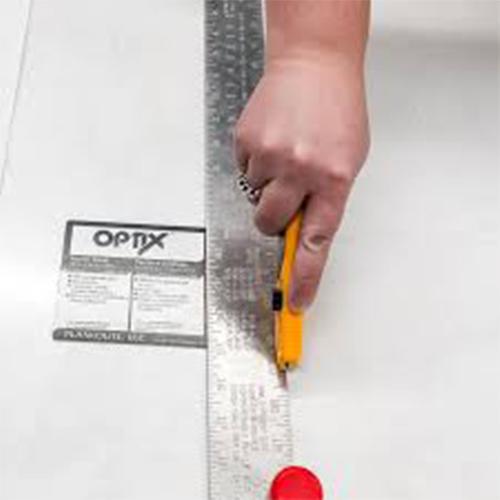
Step 3: Cut along the line with a utility knife:
Apply firm pressure on the sheet and then place a solid ruler on the place where you wish to cut. The ruler can guide the utility knife well while ensuring that the cut is highly accurate. You may need to run the knife on this dedicated portion for almost 10 to 12 times. Deeper cuts will help you snap the board with ease.
Step 4: Flip the sheet and score another side:
Once you have created a deep groove on one side of the plexiglass, it is time to turn it to the other side and follow the same process. Cut along the line to score the sheet deeper. You must be able to bend the sheet before it can be snapped.
Step 5: Clamp the sheet while hanging the portion to be cut:
Adjust the clamp on the workbench and then fix the plexiglass sheet over it. Make sure the portion to be cut is on one side of the table, and it is extended out of the surface. With this, you will find it easier to bend.
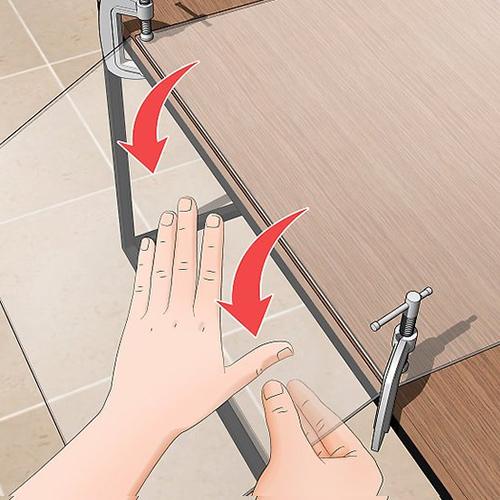
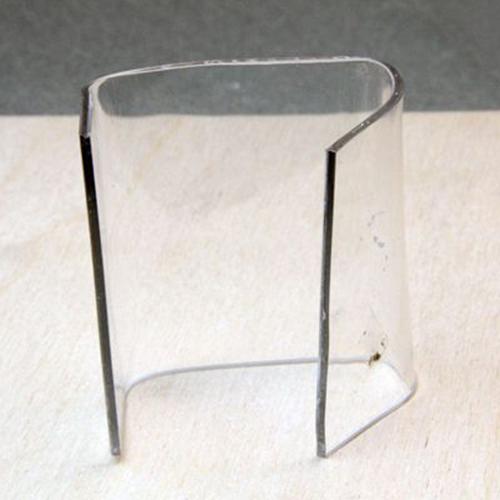
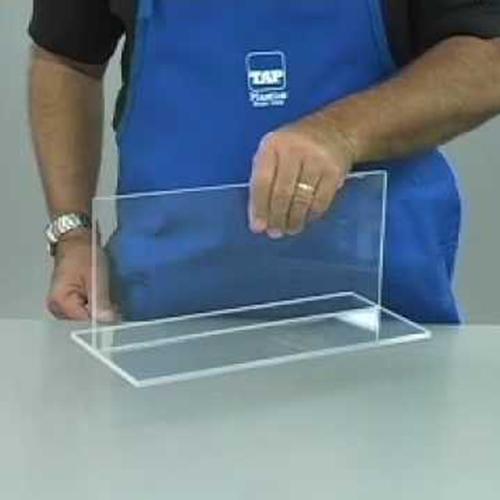
Step 6: Snap off the specific portion of plexiglass:
As soon as the sheet is well-adjusted on the clamp and the surface is at the right place, it is time to apply downward pressure to break off the specific portion. It must get separated cleanly without creating an uneven appeal behind it. In case if you are not able to separate these two pieces, it is good to groove with the knife again as described in steps 3 and 4.
Method 2: Using Jigsaw to cut plexiglass:
It is also possible to cut the sheet into the desired shape by using a jigsaw. Below we have added steps for that:
Step 1: Use a jigsaw to create rounded cuts:
Many people confuse jigsaw with a bandsaw, but it is actually shorter in dimension and works in an up-down motion. Jigsaw can be used to create rounded as well as straight cuts on the sheet. Experts advise using an uncoated blade having fine teeth to ensure the best results.
Step 2: Place the sheet on sawhorse:
It is good to use a sawhorse type workstation to hold the Plexiglas sheet firmly while cutting it with a jigsaw. Place the sheet on the surface and then secure it using sawhorse. Make sure the sheet stays stable when you cut it.
Step 3: Use a dry erase marker to guide jigsaw:
In order to ensure fine cuts on the sheet, it is important to have clear markings on its surface. Experts advise using dry erase marker to create the desired shape; whether it is circular or irregular. It will be easier to follow this outline while cutting with a jigsaw.
Step 4: Use safety glasses for eye protection:
It is important to note that the sawing process can cause tiny particles or splinters to fly in the air. These tiny particles can pose huge damage to your eyes. It is better to put a pair of safety glasses to protect your eyes during this process.

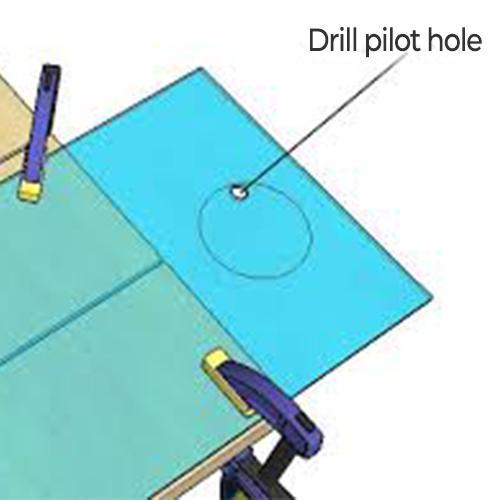
Step 5: Drill a hole and fit jigsaw:
Before jigsaw starts cutting the plexiglass sheet into your desired shape, this tool needs a tiny opening to fit into the surface. You may need to drill a tiny hole to fit the blade. In case if the sheet is required to be cut in some irregular shape, the drill hole must be placed at the highest corner of that shape. Make sure the blades find it easier to turn into the desired cutting pattern; otherwise, it may get broken.
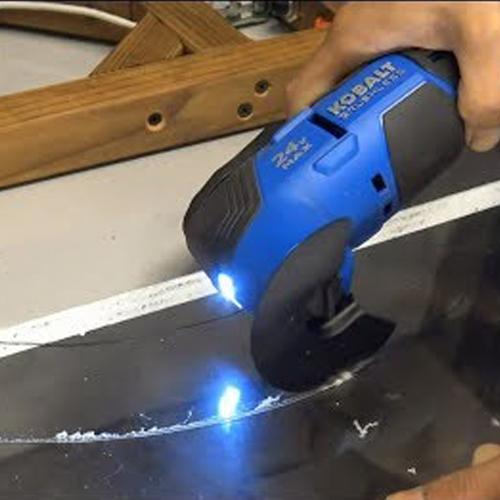
Step 6: Insert the jigsaw and turn on high speed:
It is time to fit the jigsaw blade into the drill hole and then turn it on. Note that, jigsaw blade usually moves slower as compared to a circular saw or a band saw. Hence, it is better to start at full speed to cut the sheet. If you try to cut the portion on slow speed, it may cause considerable damage to the jigsaw. Some people also face serious injuries due to this mistake.
Step 7: Push the jigsaw to cut the sheet:
Now apply steady pressure on the jigsaw so that it can start cutting the sheet without jumping off. Keep on following the marker guide closely; prefer to slow down the blade when there are steep turns. It needs optimal pressure during the cutting process; otherwise, the blade may generate lots of heat.
Expert tip:
In case you are executing this task for the first time and are hardly aware of how to use all these tools; it is good to make some test cuts first. Take some scrap pieces of plexiglass sheet and mark some areas using dry erase markers. Now start cutting that portion using jigsaw while following the marking closely. It will help you learn the process, and soon you can cut the desired pieces with higher accuracy.
Some people also prefer to use a circular saw to cut plexiglass sheets into the desired shape. There are many such tools that you can try; however, steps for the simplest methods are already listed above.
It is time to plan your dream décor element and start working on acrylic sheets to give it the final touch. Soon you will gain experience, and then it will become easier to design several items following unique shapes and appeal.