
The Ultimate Guide to DIY Wall Paneling Installation
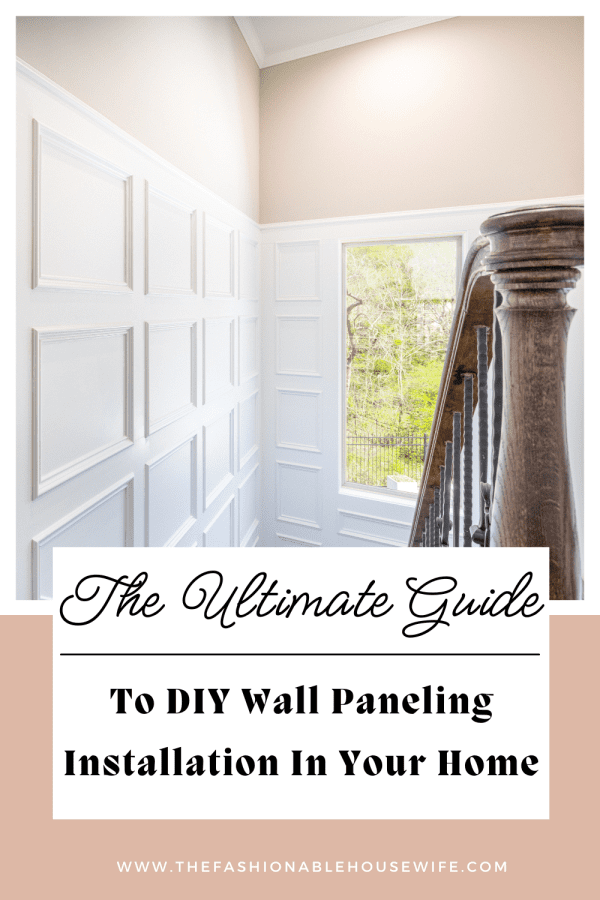
Transforming your home doesn’t always require a complete renovation. Wood wall panelling is a brilliant way to add character, depth, and style to your interiors. Whether you’re creating a feature wall in the living room or adding a touch of elegance to your dining space, wall paneling can redefine a room. And here’s the best part—it’s a project you can confidently take on yourself with a bit of planning and the right tools.
Why Wall Panelling? Benefits and Design Appeal
A Visual Statement
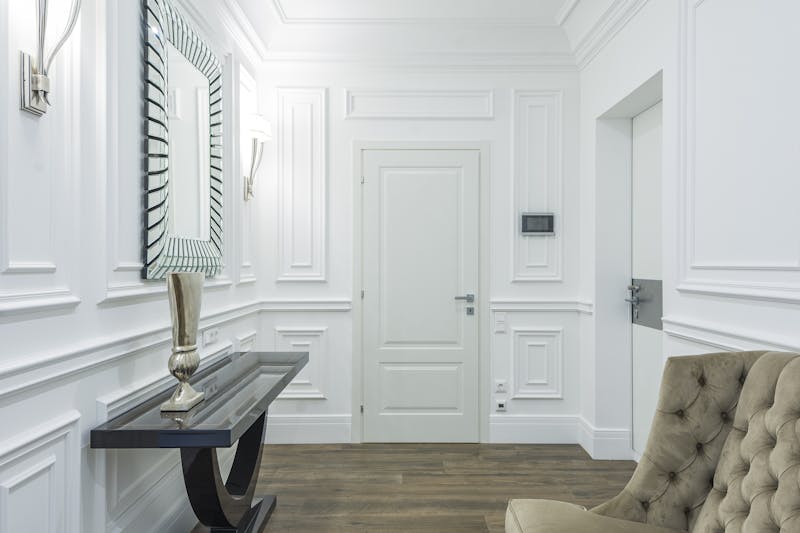
Wall paneling isn’t just decorative—it can completely reshape the personality of a room. Whether you want to introduce rustic charm, sleek modernity, or timeless elegance, the right paneling style can bring flat, uninspiring walls to life.
Practical Advantages
Aside from its aesthetic appeal, wall paneling is incredibly functional. It protects your walls from scratches and scuffs, adds a layer of insulation to keep your space cozy, and even absorbs sound—ideal for bustling family homes or peaceful retreats.
Endless Design Choices
From the clean lines of board and batten to the laid-back charm of shiplap, wall paneling offers something for every style. Whether you’re after a contemporary look or a more traditional finish, there’s a paneling option to suit your vision.
Types of Wall Paneling: Choosing the Right Style
- Wainscoting: Covering the lower third of a wall, wainscoting brings a refined touch to dining rooms, hallways, and more formal spaces.
- Shiplap: Perfect for a relaxed, inviting vibe, shiplap’s horizontal planks are a popular choice for bedrooms and family rooms.
- Board and Batten: With its vertical lines, this style adds height and elegance to any room, especially smaller spaces or those with low ceilings.
- Raised Panels and Beadboard: Raised panels exude traditional grandeur, while beadboard delivers a cozy, cottage-like feel—ideal for bathrooms and kitchens.
Choosing the Right Materials
- MDF (Medium Density Fiberboard): A budget-friendly option that’s easy to paint and work with—ideal for beginners.
- Real Wood: Adds natural warmth and authenticity, making it perfect for feature walls or spaces where quality is key.
- PVC/Vinyl: Moisture-resistant and low maintenance, PVC and vinyl are great choices for bathrooms and kitchens.
- Gypsum: Lightweight and decorative, ideal for intricate or creative designs.
Essential Tools and Materials Checklist
Tools: Measuring tape, level, fine-toothed saw, drill, safety goggles, and gloves.
Materials: Wall panels, adhesive, nails/screws, caulk, primer, and paint (if not using pre-finished panels).
Having everything ready before you begin will save you unnecessary stress down the line.
Step-by-Step Guide to Installing Wall Paneling
1. Measure and Plan
Take precise measurements, marking out doorways, windows, and trim. Use masking tape or a laser level to visualize your design.
2. Prepare Your Walls
Clean the walls thoroughly, filling any imperfections with spackle and sanding for a smooth finish. Apply primer to improve adhesive bonding. For uneven surfaces, consider attaching furring strips to level the panels.
3. Cut the Panels
Double-check your measurements before cutting. Use a fine-toothed saw to ensure clean edges, especially when working with MDF.
4. Attach the Panels
Apply adhesive in a zigzag pattern on the back of each panel, then press firmly against the wall. Secure with nails or screws into the studs for added stability.
5. Cut Around Outlets and Switches
Carefully use a jigsaw to make precise cutouts for outlets and switches. If this step feels daunting, seek guidance from an electrician.
6. Add Trim and Finish
Install molding or trim to give your paneling a polished look, ensuring corners align seamlessly. Fill any gaps with caulk, then sand and paint for a flawless finish.
Extra Styling Ideas
- Accent Walls: Use bold colors or textured panels to create a focal point in living rooms or bedrooms.
- Room-Specific Styles: Opt for beadboard in kitchens for a classic touch, or board and batten in sitting rooms for added character.
Maintenance Tips
Wall paneling is easy to maintain. Wipe it down regularly with a soft cloth and mild cleaner. For minor scuffs or scratches, touch up with paint or stain as needed to keep it looking fresh.
Advanced Tips for a Professional Finish
- Allow for Wood Expansion: Leave small gaps when installing real wood panels to accommodate natural movement.
- Pre-Paint Panels: Painting panels before installation ensures even coverage and saves time on touch-ups.
- Use a Laser Level: This tool guarantees perfectly straight lines and saves time during installation.
Final Thoughts
Wall paneling combines style and functionality, making it a standout choice for any interior. Whether you’re drawn to the elegance of wainscoting or the relaxed vibe of shiplap, there’s a design to suit every taste. With some thoughtful preparation and patience, you can achieve a stunning transformation on your own. But if the project feels too daunting, hiring a professional can ensure flawless results.