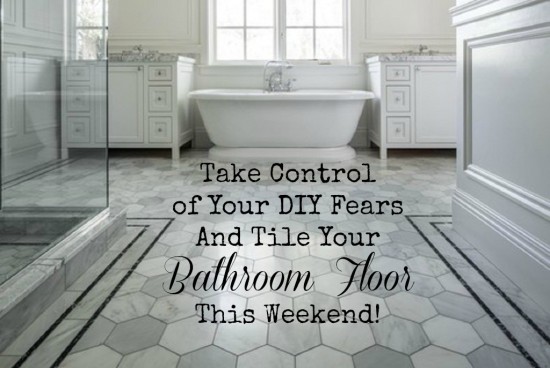
Take Control of your DIY Fears and Tile your Bathroom Floor This Weekend
To some homeowners, the very mention of DIY has them breaking out into a sweat and wondering whether to call in professional help rather than tackle a job themselves. It is certainly true that some DIY tasks would be best left to the professionals, but tiling your bathroom floor is a good example of a job that many people could successfully manage, once they know how.
Here is a look at five easy steps that will help you to conquer your DIY doubts and allow you to do a job that will look great and save you money.
Getting started
There could be a good why you want to change your bathroom floor tiles, either because you simply want to remodel your bathroom or perhaps some damage has forced you to replace your flooring as it is no longer fit for purpose. If you had taken out a warranty to cover repairs caused by damage or when something has broken down, through a company like Choice Home, then you might have the weekend off, but if you are going to tackle the bathroom floor yourself, here is how to get started.
A weekend to get the job done is a realistic target and you should be prepared to spend about 15 hours or so in completing the task, and anyone suggesting it can be done much quicker than that is probably kidding themselves or not doing it properly.
Start by removing the old tile or carpet that is on the floor and a good tip would be to remove the bathroom door as well, so that you can work more easily when laying down the new flooring without any hindrance.
Right tiles and template
The easy part of the job is picking the right tiles and you can search out suppliers on the internet and check out their profile on places such as LinkedIn for customer feedback. There are so many different materials and colors to choose from and you should be able to find what you want, that is suitable for the size of the room and the theme you are going for.
One of the most important aspects of tackling the tiling job yourself is to get the template right, as this will be crucial to the success of the installation overall. Take your time to work out the pattern and placement so that you can see what it is going to look like after you are done.
Prepare the floor
Make sure that the floor is clear of any debris and ready to take your new tiles, then once you are confident about the placement of your tiles, prepare the floor by laying down the cement.
Always use a good quality cement for better adhesion and only apply a certain amount at a time so that you can work on laying tiles in this area without feeling that you need to rush before the cement starts to dry.
Grouting
Having carefully followed the pattern that you decided upon when working out your template for the design and finished laying your tiles down, it is then time for grouting and sealing.
Decide the color of the grout that you are going to use and bear in mind that your choice will have a significant impact on the finished look and feel of the flooring, so choose your shade carefully. Apply the grout as evenly as possible and gently run a sponge over the tile surface to clear away any excess once you are done.
Preserve the floor
Having done such a good job with your DIY flooring, it makes sense to want to keep in top shape and enjoy a smart and beautiful finish for a long time after all your hard work has been done.
Apply a sealer to keep in ensure it looks really smart and to make it more resistant to steam and water.
It might take you most of the weekend, but you can save a lot of cash compared to what you will pay to get someone in to install your floor for you, and you have the satisfaction of knowing that by completing a job like this yourself, you have well and truly conquered any DIY fears.
Guest Blogger: Katy Butler likes to do her own small home renovations and repairs. Often called a “Jill of All Trades,” you can find her articles on home design and DIY blogs.