How to Transform Your Home with DIY Wall Paneling
Wall paneling is back in style, and for good reason. It’s not just reserved for grand, traditional homes anymore—it’s a versatile way to add charm, warmth, and depth to any room. Whether you’re revamping your living room or giving your dining area a fresh lease of life, wall panelling sheets are a creative and practical option. The best part? You don’t need to be a professional to pull it off. With the right tools, a bit of preparation, and a touch of patience, you can achieve stunning results on your own.
Why Go for Wall Paneling?
Transform Your Space
Wall paneling is a game-changer. It turns plain, uninspiring walls into focal points full of personality. Depending on the style, it can make a room feel elegant, contemporary, or downright cozy. And the best bit? It’s an upgrade that doesn’t involve tearing your home apart.
Practical Perks
Beyond good looks, paneling is a smart choice for practical reasons. It protects your walls from everyday wear and tear, adds insulation to keep rooms warmer, and even helps with soundproofing—ideal for a busy household or when you just need some quiet.
Endless Style Options
Whatever your vibe, there’s a paneling style to match. Want a coastal, laid-back look? Go for shiplap. Looking to add a touch of elegance? Wainscoting has you covered. From modern board and batten to charming beadboard, there’s something for every taste and room type.
Picking the Right Paneling Style
Wainscoting
Wainscoting is a classic choice that adds sophistication, especially in dining rooms or hallways. Covering the lower third of the wall, it brings a refined but understated feel to any space.
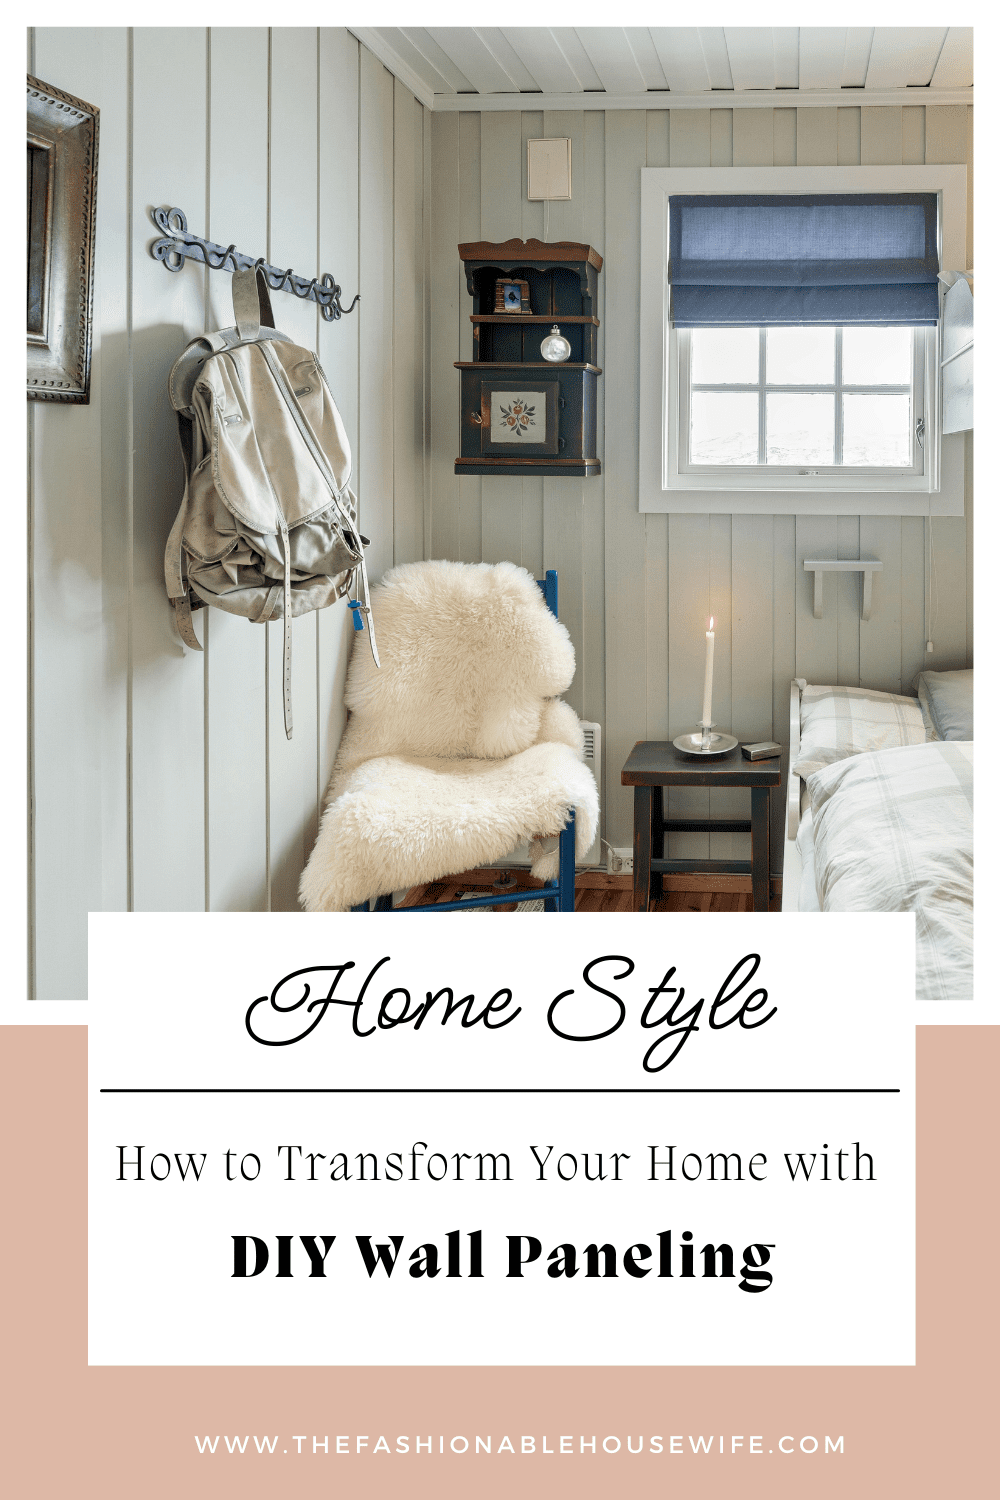
Shiplap
For a relaxed, casual aesthetic, shiplap is the way to go. Its horizontal planks are perfect for bedrooms or family rooms, creating a warm, inviting atmosphere with a coastal twist.
Board and Batten
Board and batten is all about vertical lines, which help make a room feel taller and more open. It’s ideal for compact spaces or anywhere you want to create an illusion of height.
Raised Panels & Beadboard
Raised panels exude old-world charm, while beadboard is great for adding a cottage-like character. These styles are perfect for bathrooms, kitchens, or entryways that could use a bit of personality.
Choosing Your Material
- MDF (Medium Density Fiberboard): Budget-friendly and easy to work with, MDF is great for first-time DIYers. It’s smooth, paintable, and reliable for most projects.
- Real Wood: While pricier, real wood adds unmatched warmth and texture. It’s a go-to for creating a timeless look.
- PVC: Moisture-resistant and ideal for bathrooms or utility rooms, PVC is durable and low-maintenance.
- Gypsum: Lightweight and versatile, gypsum works well for decorative paneling but is less sturdy than other options.
What You’ll Need
Before you start, gather your tools:
- Essential tools: Measuring tape, level, saw, and drill.
- Safety gear: Goggles and gloves.
- Extras: Adhesive, nails or screws, caulk, paint (if not pre-finished), and a laser level for precision.
DIY Wall Paneling: Step-by-Step
1. Measure and Plan
Start by measuring your walls meticulously, taking note of obstacles like windows and doors. Use masking tape or a laser level to map out where each panel will go. A solid plan saves a lot of frustration later.
2. Prep Your Walls
Clean and prime the walls to help panels adhere properly. Fill any dents or imperfections with spackle. If your walls aren’t even, consider adding furring strips for a smooth surface.
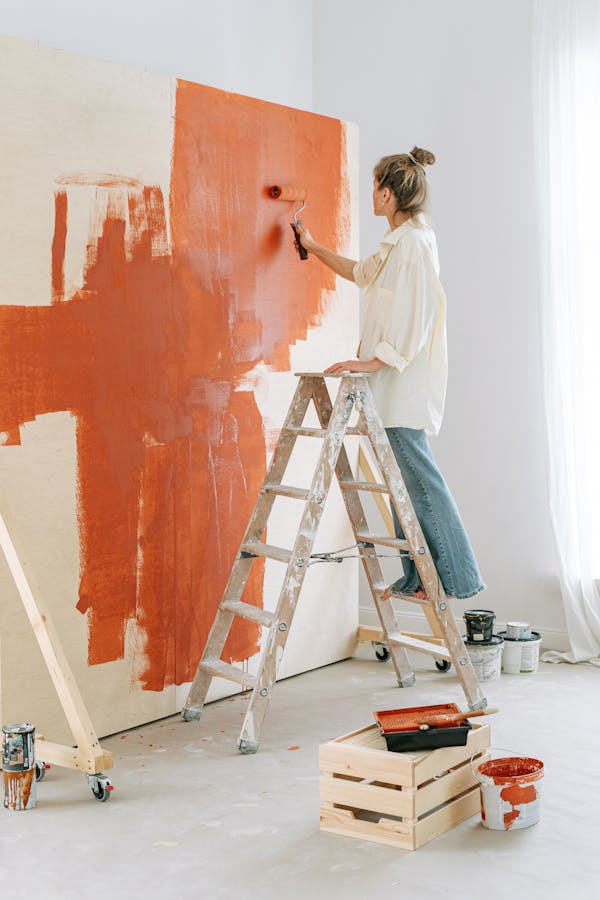
3. Cut the Panels
Double-check your measurements before cutting. For a clean finish, use a fine-toothed saw, especially with MDF, to prevent chipping. Accuracy here makes all the difference.
4. Attach the Panels
Apply adhesive to the back of each panel in a zigzag or “W” shape, then press it firmly against the wall. Secure with nails or screws, anchoring them to the studs for extra stability.
5. Handle Outlets and Switches
Cut neatly around outlets and light switches using a jigsaw. If you’re unsure, consider consulting an electrician for safety.
6. Add the Finishing Touches
Install trim or molding around the edges for a seamless, polished look. Use caulk to fill gaps and ensure crisp corners.
Finishing Touches
Create an Accent Wall
Want to make a bold statement? Paint one wall in a striking color or experiment with a textured panel style to create a standout feature.
Match Styles to Rooms
Different styles suit different spaces. Board and batten works beautifully in living rooms, while beadboard can add charm to a bathroom or kitchen.
Maintenance Made Simple
To keep your panels looking fresh, clean them with a soft cloth and mild cleaner. For scuffs or minor damage, a quick touch-up with paint usually does the trick.
Pro Tips for a Flawless Finish
- Pre-paint panels: Painting or staining panels before installation ensures a uniform finish and simplifies touch-ups later.
- Allow for wood expansion: If you’re using real wood, leave small gaps to accommodate natural expansion.
- Invest in a laser level: Straight, precise lines can make even DIY wall paneling look professional.