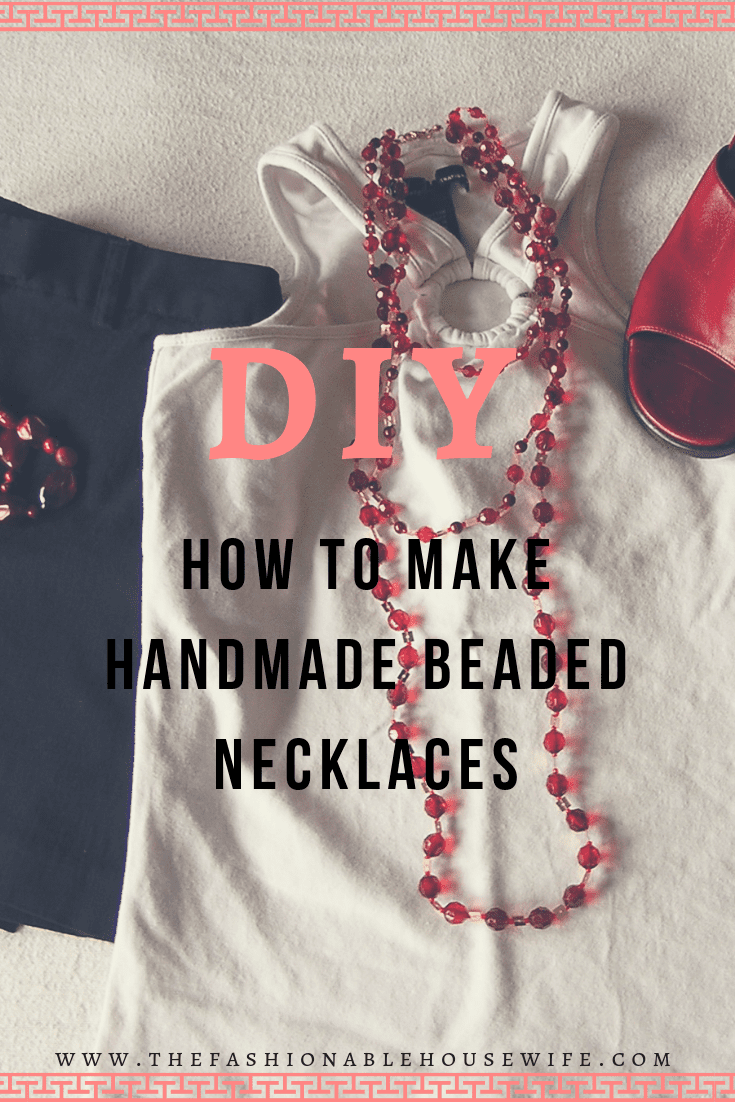
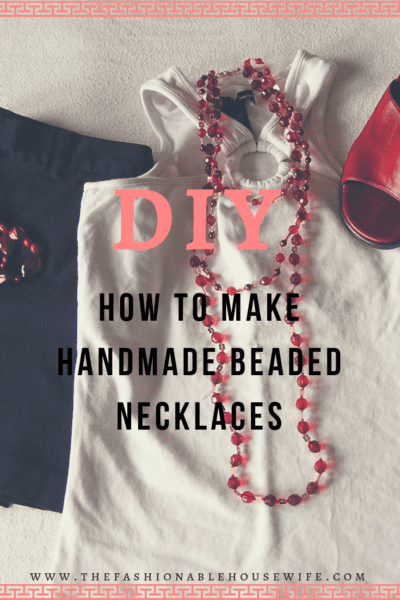
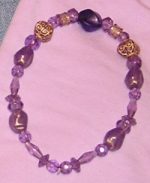
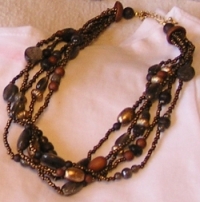
DIY: How To Make Handmade Beaded Necklaces
 A reader asked me last week:
Q: “You’ve mentioned making your own bracelets. Could you give some instruction on that… and online shopping for materials as well?”
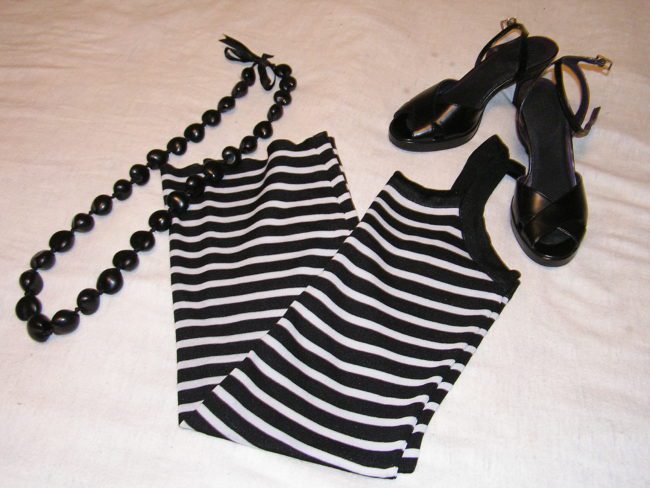
Sure! As you’ve probably noticed, a lot of my jewelry is handmade. I either make it myself or buy it at thrift stores or on eBay.
If you’re into crafts, then this should be easy for you. If you’re not into that kind of thing, you’ll have to apply yourself a little bit. You can make just about anything from necklaces and bracelets to earrings and rings. If you’re new at this, start off making a necklace. (A bracelet can be difficult to measure.)
Start off by deciding exactly what you want to make. Get an idea of the style and colors you want before you go to the store or shopping online. Once you see the huge selection of beads, you can lose track of what you were doing! Believe me, I’ve been there done that.
Several stores to check out for beads are A.C. Moore, Ben Franklin Crafts, Michael’s, Wal Mart, Jo Ann Fabrics, and any other local craft store in your area. You can also find beads in a variety of colors and sizes on eBay. If you are looking to make a lot of things and you want to buy all the supplies you’ll need, you can get them at wholesale prices online from The Oriental Trading Company.
 I prefer to use clear stretchy cord for bracelets and necklaces. However, sometimes the holes in the beads are not large enough and I need to use thread. (I don’t recommend wire unless you’re making earrings.)
Things you’ll need to get started:
a pair of long nose or “needle nose” pliers, jump rings, lobster claw clasps, and something to hold your beads in so you can easily access them without spilling them on the floor. A small bowl or plate will do fine.
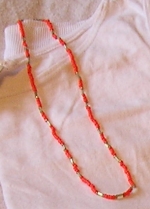
Once you have all your supplies and your beads, the first thing you need to do is measure the chord to the correct length you want. I make most of my necklaces approximately 18 inches long so they fall to the middle of my chest. Remember when you measure your chord to always add at least 4 inches so you have enough extra cord to easily tie around the jump rings.
 After you have the proper length of cord cut, tie a jump ring at one end of the chord. Make a square knot and be sure it is tight. Don’t worry about cutting off the leftover inch or so of cord hanging off the jump ring.
Then, start slipping your beads on the cord! If you are using the stretchy elastic cord, this process is very easy. If you are using smaller beads and thread, you may want to wet the end of the thread before you string it into each bead. This makes threading the beads onto the thread much easier as you will see.
 When you have all your beads threaded onto the cord, you should have an extra 2 or so inches left of the cord at the end. Use this to tie another jump ring on the end. Be careful not to let all the beads slide off! Make sure you tie the knot as close to the beads as possible. You should not be able to see the cord once you have made your final knot and clipped off the extra cord. Don’t worry too much if it does. This part takes practice.
Now you should have a long string of beads with 2 jump rings on each side. Choose one side and attach the lobster claw clasp to the jump ring. How do you do that? Click here to learn how to open and close a jump ring >> And now you’re done!
How did it turn out? What colors did you choose? Let me know!
Need more tips? Email me or leave a comment below, or you can search Google for hints and tips.